I Built This Blog Without Writing a Single Line of Code (Almost)
A comic-style walkthrough of how I built curiousbit.netlify.app using Claude, Codex, Hugo, Tailwind, and Netlify — zero frontend experience required.
On this page
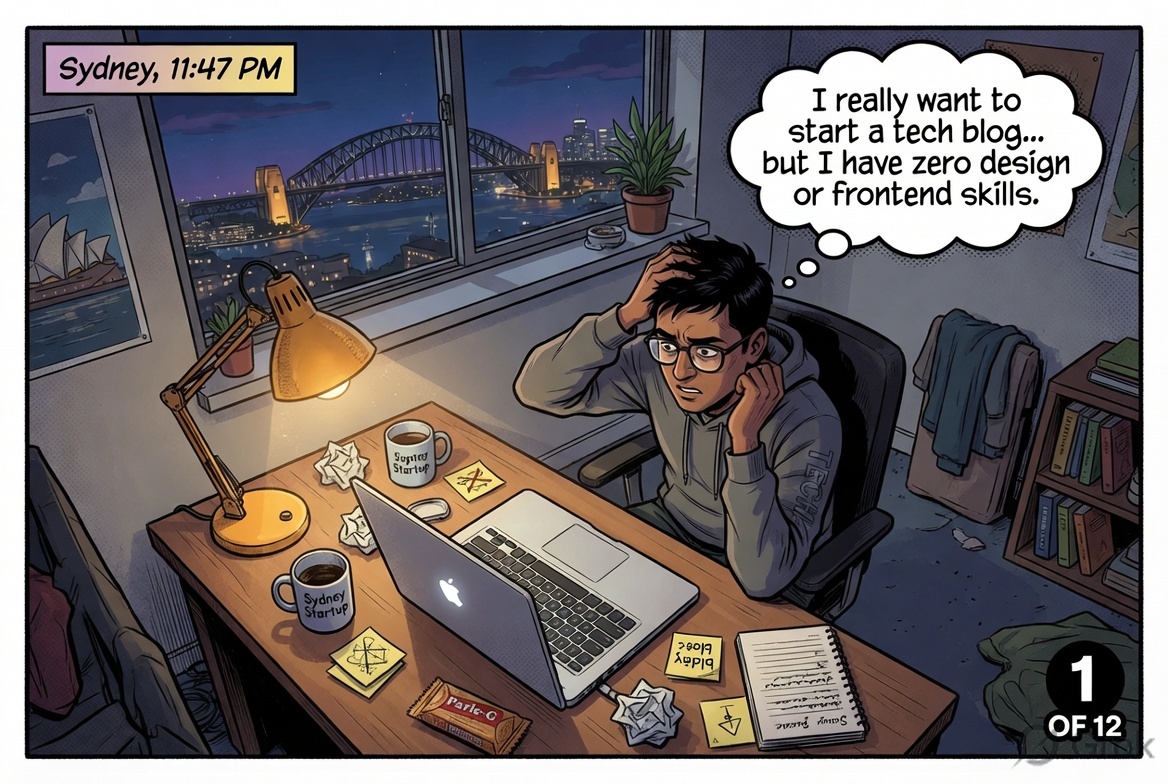
It started like most late-night ideas in Sydney — a MacBook, too much coffee, and a thought that refused to go away.
I wanted a tech blog. A proper one — clean, fast, with a Knowledge Base, Videos section, and a place to put thoughts on AI and enterprise tech. The problem? Zero design skills. Zero frontend experience. I know infrastructure, architecture, platforms — but CSS gives me a headache.
The Crazy Idea
Then it clicked.
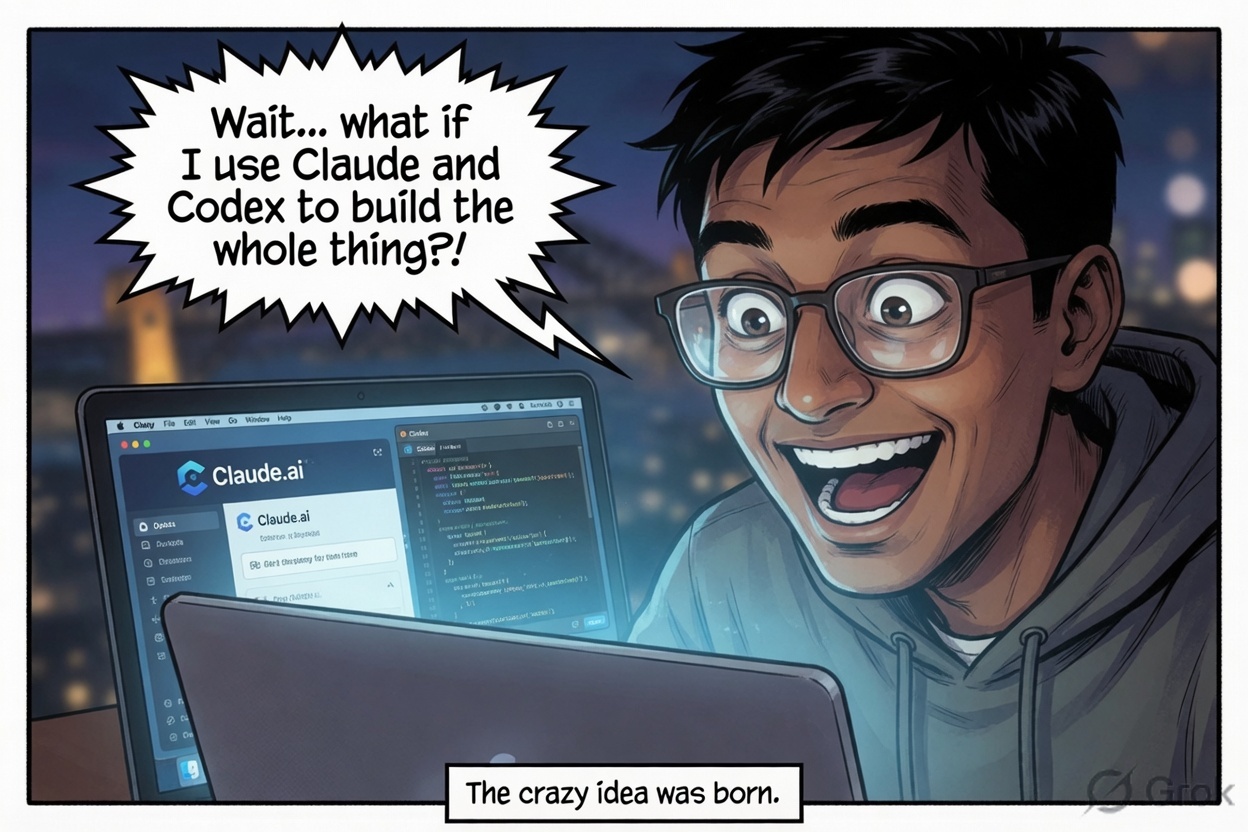
What if I just described the site I wanted — in plain English — and let AI build it? Not generate a snippet. Build the whole thing. Layouts, config, content, deployment config. Everything.
The prompt I used was simple but specific:
“Make me a clean HackerNoon-style Hugo + Tailwind blog with KB, Videos, News & Views, and About pages. Deploy-ready for Netlify.”
The Stack

The AI returned a complete project in one shot. Here’s what it chose and why it makes sense:
Hugo — a static site generator written in Go. Blazing fast builds, no database, no server to maintain. Perfect for a content blog.
Tailwind CSS — utility-first CSS. Instead of writing stylesheets, you compose classes directly in HTML. The AI could reason about it well and generate clean, consistent UI.
Netlify — one-click deployment from a GitHub repo. Push to main, site rebuilds automatically. Free tier covers everything a personal blog needs.
GitHub — version control and the bridge between local edits and live site.
The structure it generated: content/, layouts/, assets/, static/, config.yaml, netlify.toml. Exactly what you’d expect from an experienced Hugo developer.
First Roadblock — Hit in Under 5 Minutes
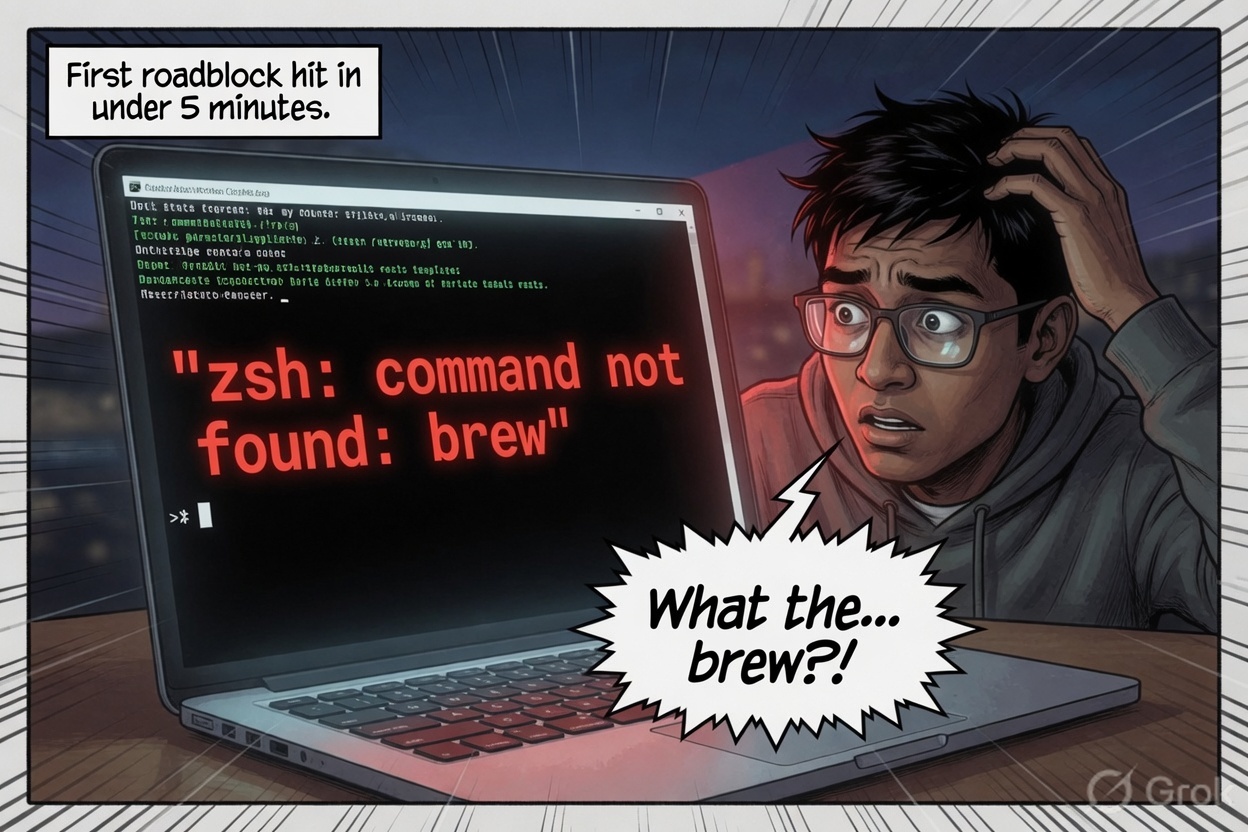
Real talk — the first thing I hit was a terminal error before I’d even installed anything. zsh: command not found: brew. Homebrew wasn’t on the machine.
At first I had no idea what I was looking at.
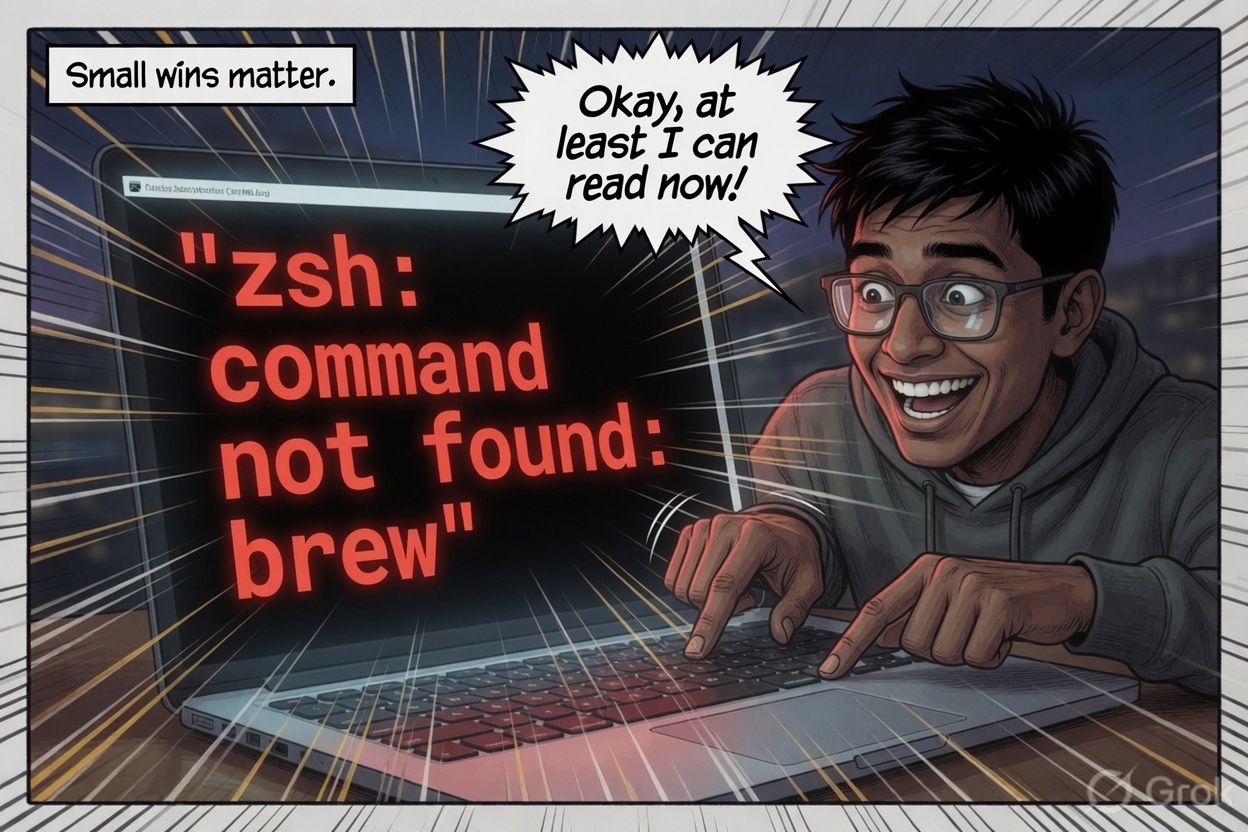
But here’s the thing about working with AI tools — you learn to debug faster because you can ask why something failed, not just how to fix it. Within a few minutes I understood: Homebrew is the Mac package manager. I needed it to install Hugo. Small win — I could read what was going wrong.
Getting Hugo Running
Three commands and Hugo was running:
/bin/bash -c "$(curl -fsSL https://raw.githubusercontent.com/Homebrew/install/HEAD/install.sh)"
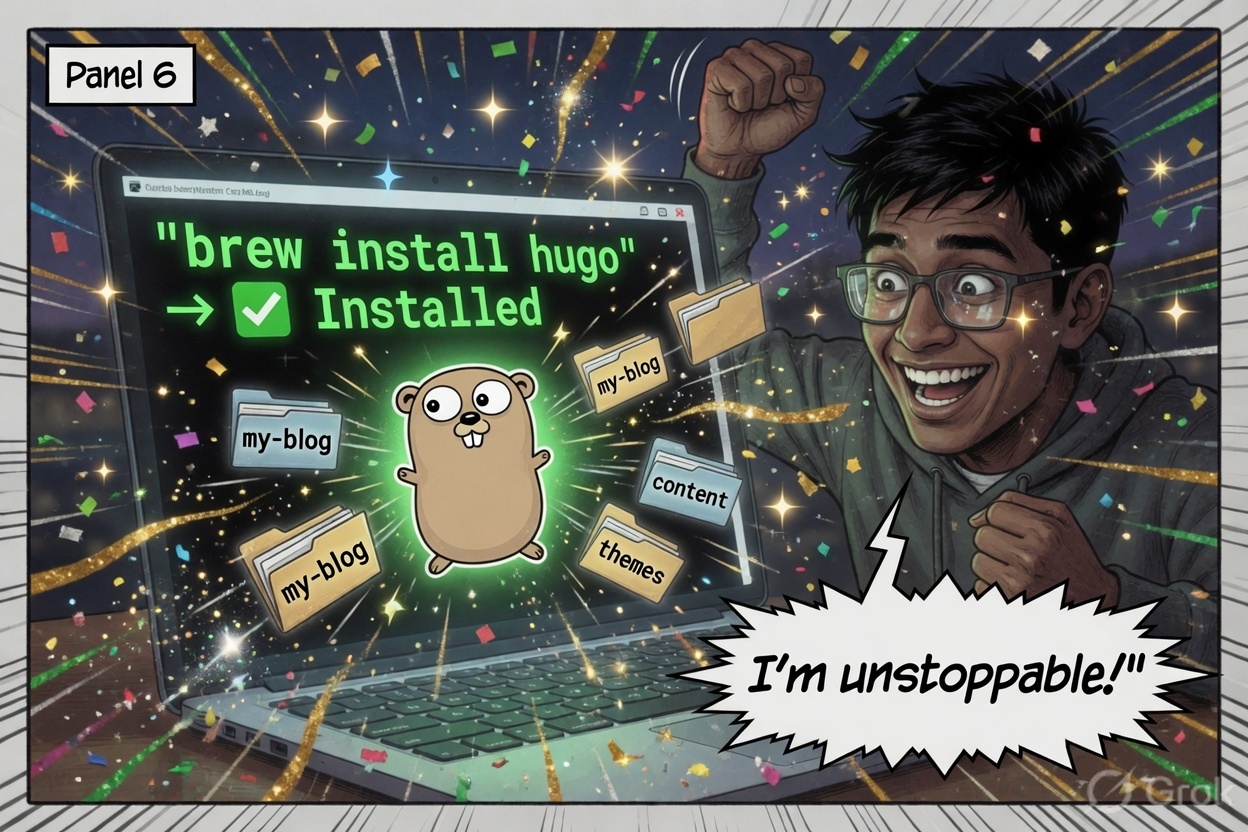
brew install hugo
hugo server
The site was alive at localhost:1313 — navigation, article cards, dark mode toggle, the works.
The Project Structure
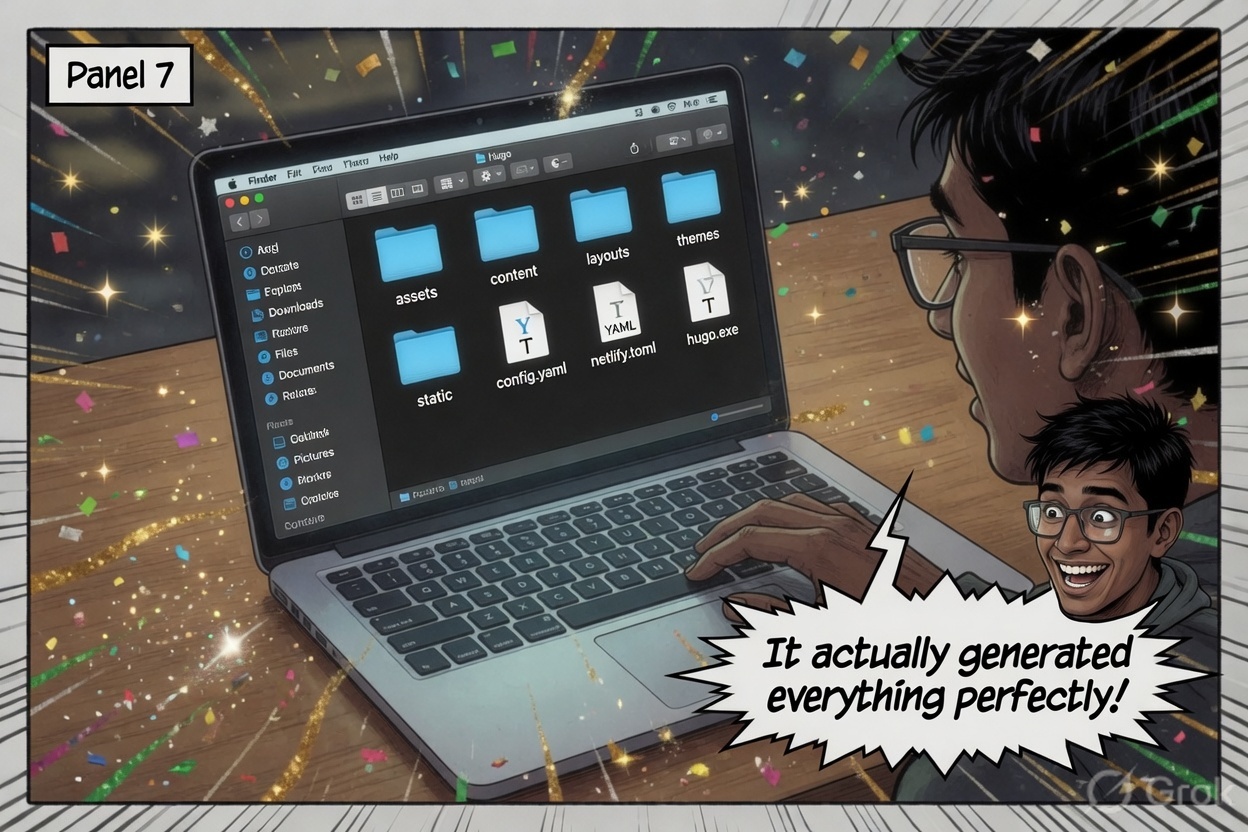
The generated project was clean and logical:
content/posts/— articles as Markdown files with YAML frontmatterlayouts/— Hugo HTML templates for each page typeassets/css/— Tailwind CSS, processed at build timestatic/— images and files served as-isconfig.yaml— site title, menus, author, base URLnetlify.toml— build command, publish directory, Node version
Hugo reads all frontmatter at build time and generates a completely static site. No database. No server-side rendering. No WordPress. Just fast HTML files.
Real Developer Moments
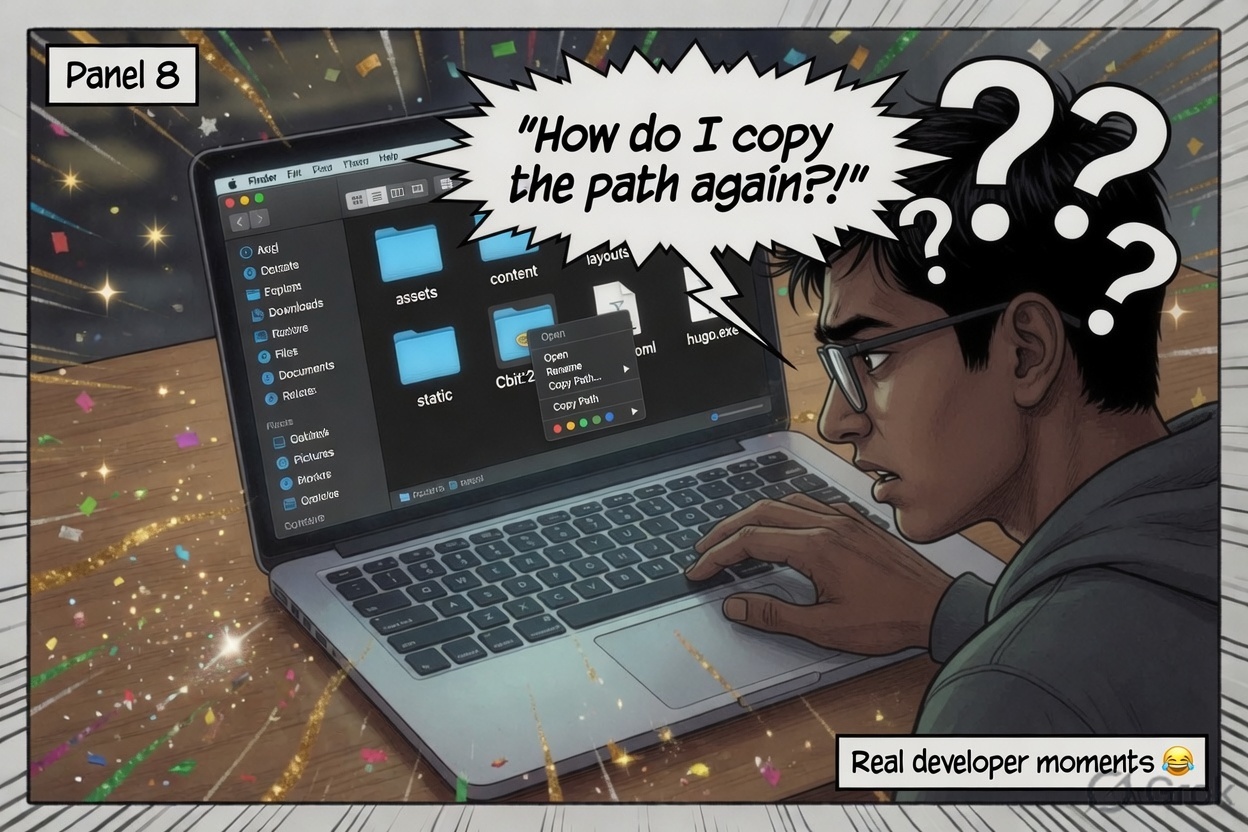
Not everything was smooth. There were genuine “how does anyone actually do this” moments — forgetting how to copy a file path in Finder, templates not updating because of Hugo’s build cache, Git authentication failing because GitHub dropped password support in 2021.
These are the moments tutorials skip. The AI handled every one of them.
Deployed. It’s Alive.
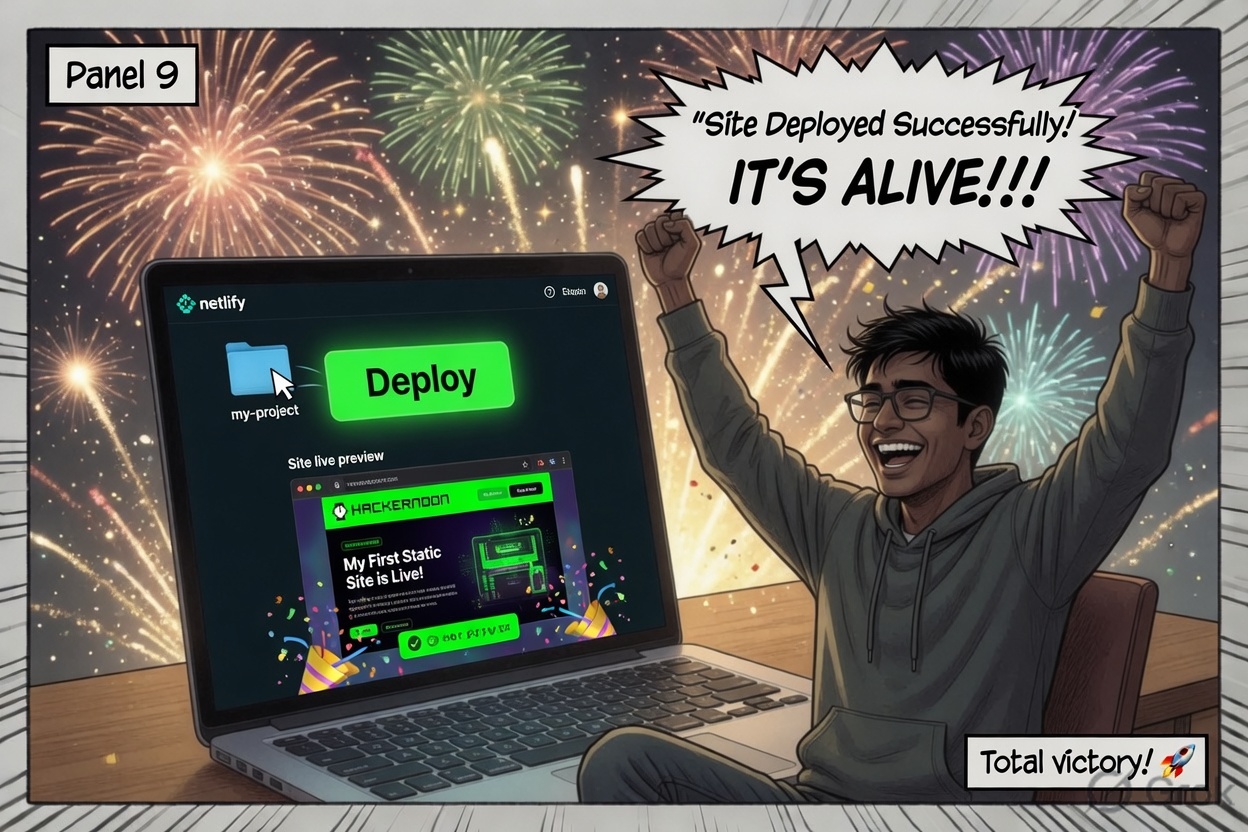
Getting it live was surprisingly painless:
- Push the project to a GitHub repo
- Connect the repo to Netlify
- Set build command to
npm run build, publish directory topublic/ - Hit deploy
Netlify pulled the code, ran Hugo, and published the static site in under 30 seconds. Every git push from that point triggers an automatic rebuild.
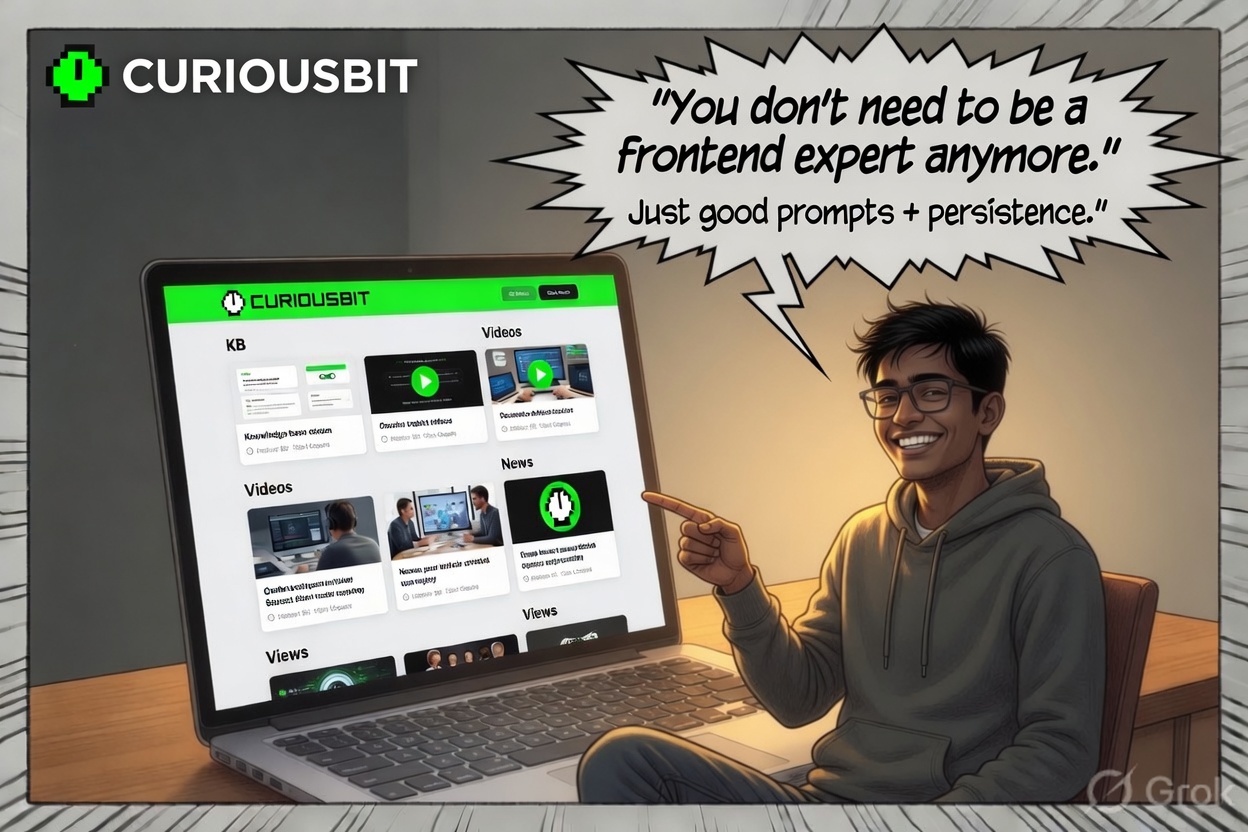
What the Live Site Looks Like
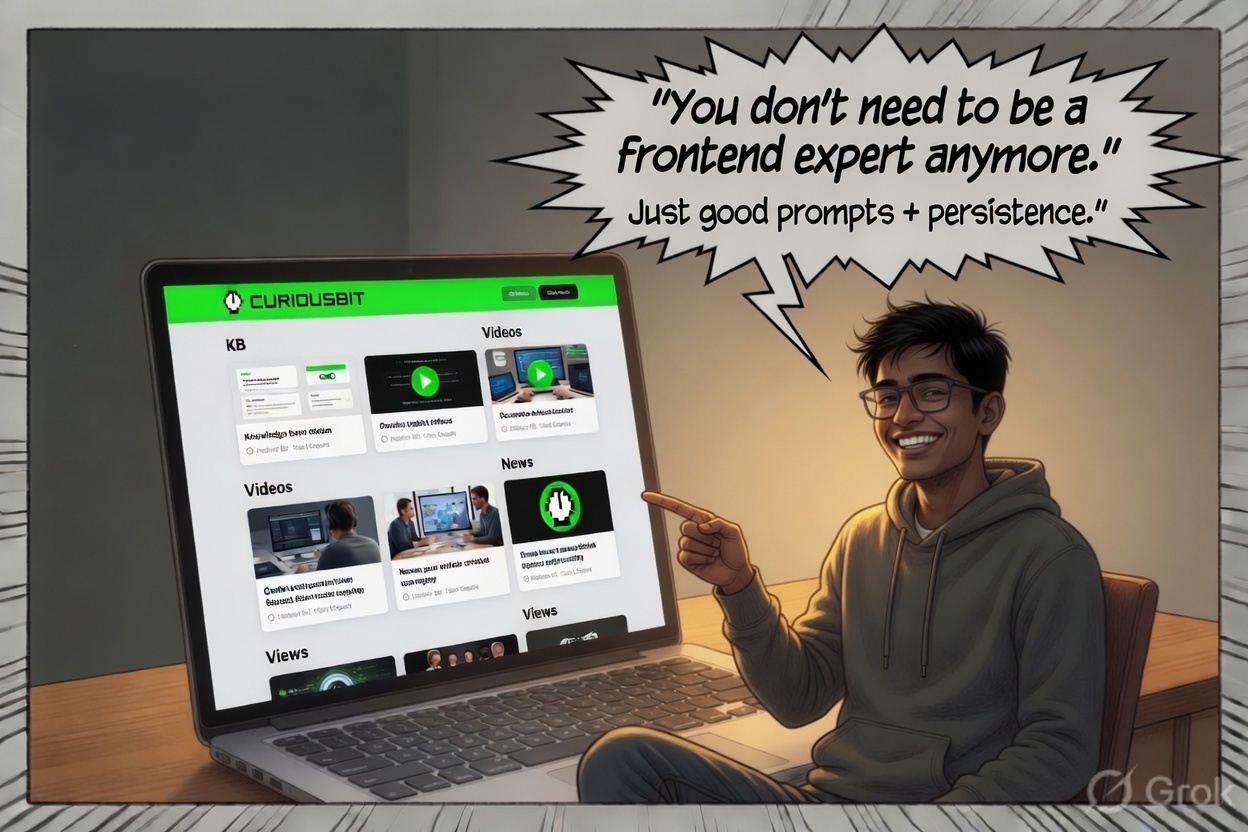
The site has:
- Homepage — featured article hero, rotating video cards, Knowledge Base grid
- KB — long-form technical articles in Markdown
- Videos — auto-synced from a YouTube playlist via YouTube Data API v3. A Node.js script fetches the playlist at build time, writes
videos.jsontostatic/, and the browser loads it at runtime. Add a video to YouTube, trigger a deploy, it appears on the site. - About — a simple bio
The video section was the most technically interesting piece. No manual uploads, no embeds to maintain — just a playlist that feeds itself.
The Takeaway
This entire site — layouts, templates, CSS, YouTube integration, Git workflow, deployment pipeline — was built by someone with no frontend background. What I brought was the ability to describe what I wanted clearly, debug errors methodically, and push through the friction points.
The tools did the heavy lifting. The judgment about what to build was still mine.
Now It’s Your Turn
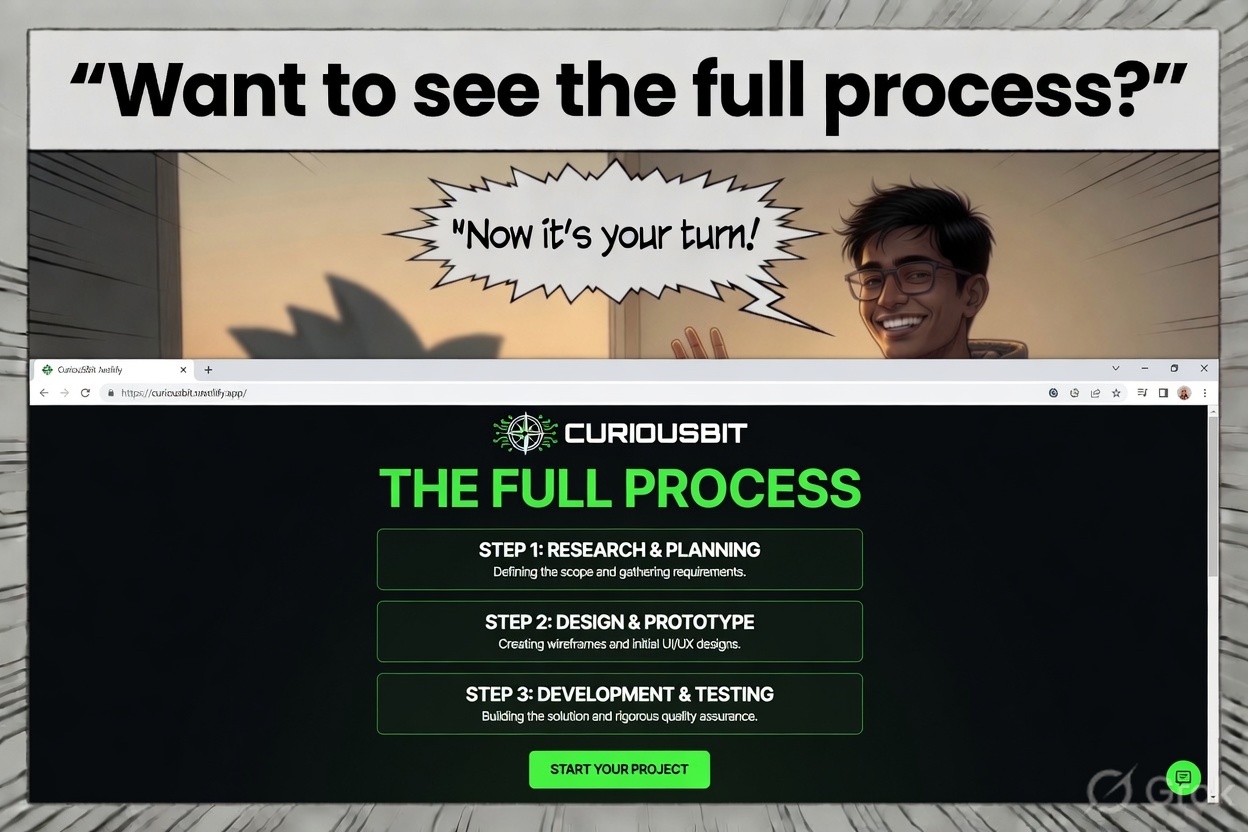
The stack is: Hugo + Tailwind + GitHub + Netlify + Claude. All free. All production-grade.
Start with a prompt. Describe what you want clearly. Expect errors. Fix them one at a time. Deploy early and often.
The gap between “I have an idea” and “it’s live on the internet” has never been smaller.
The full source for this site is on GitHub at ibn-Battuta/AjayW_blog.
About the Author
Ajay Walia
AI {IT Architect} focusing on local-first multi-agent AI engineering, zero-data-egress systems. Ideator, Creator and Executor on Curious Bit.
Keep Reading

Camera Roll to Caption — Python Pipeline, Vision Model for Photo Tags
A small structured review seam beats blind automation. The case study: a two-stage Python tagger that turned 35 garden HEICs into captioned posts, with 97% acceptable output after thirty seconds of human review.
A Field Guide to AI Chips
A beginner-to-intermediate field guide to the silicon powering modern AI. GPUs, TPUs, NPUs, CPUs, ASICs, FPGAs, edge chips and emerging architectures — what each is for, where you'll meet it, and how much it costs.
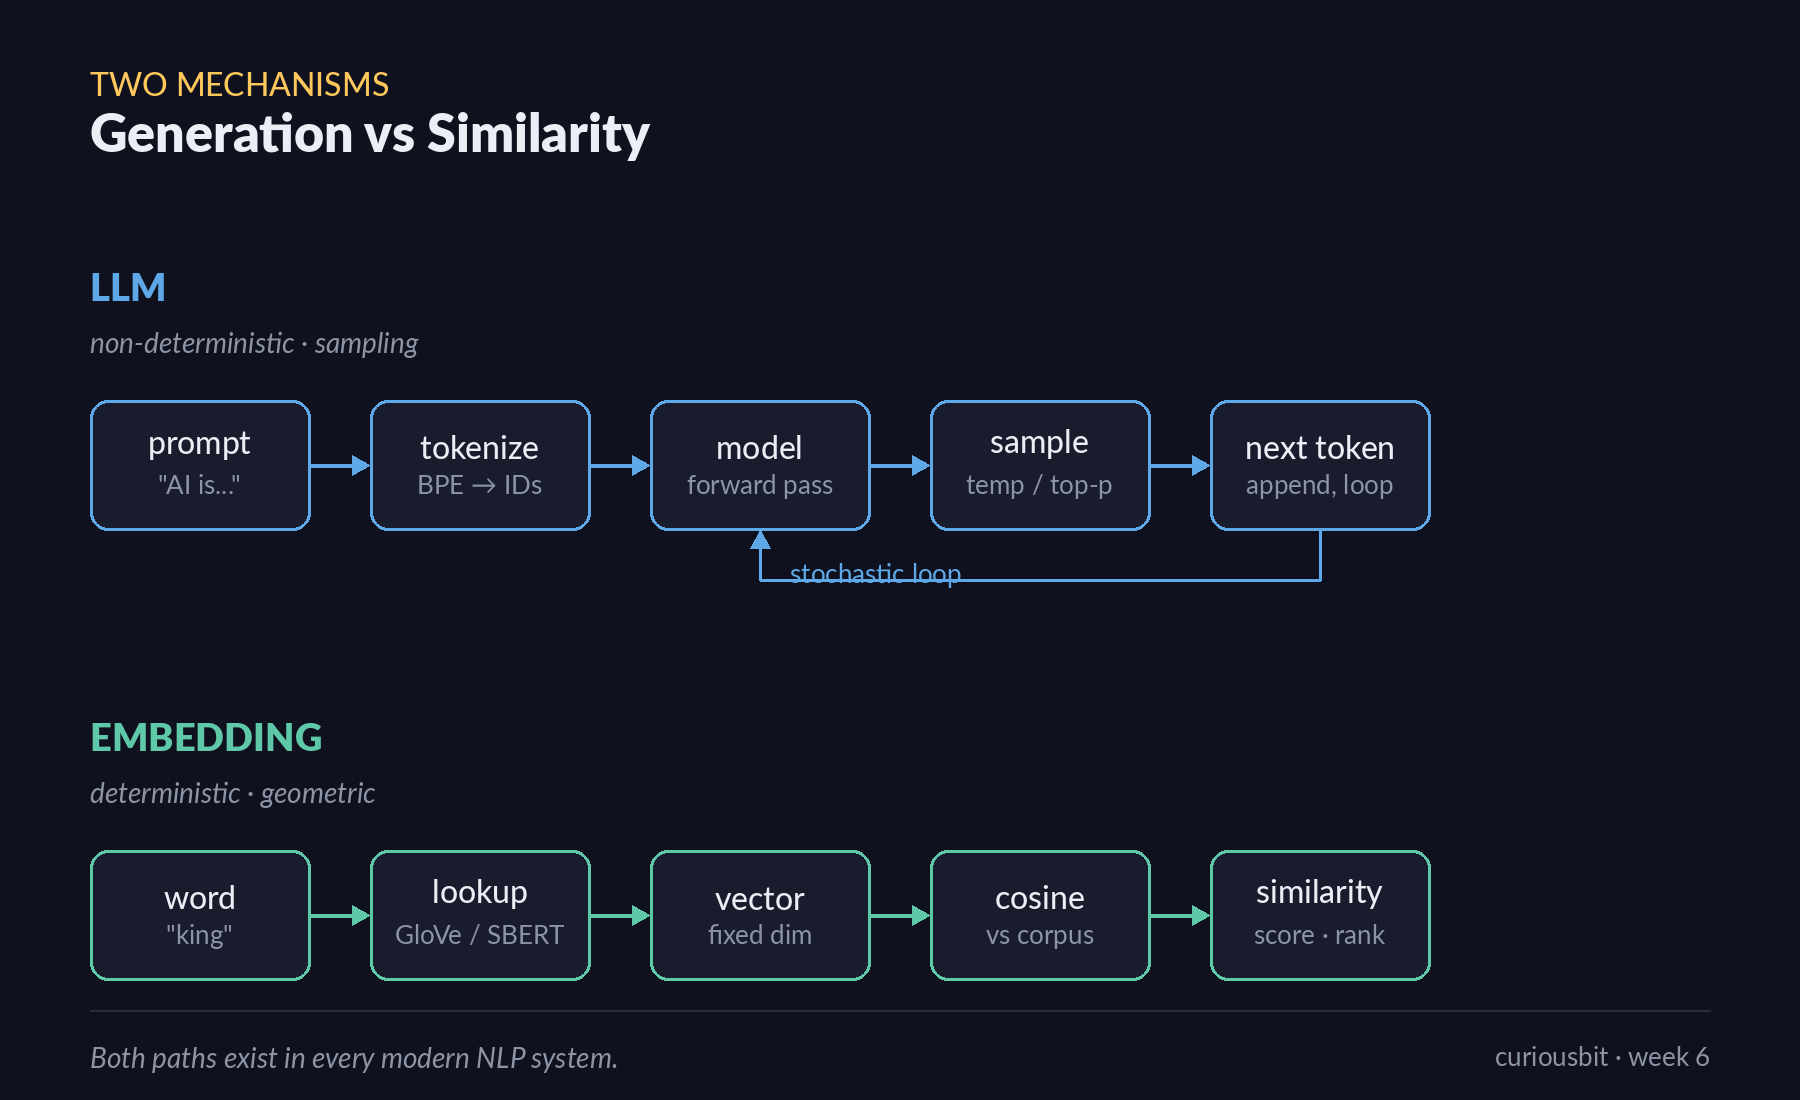
LLM & Embeddings — One Predicts Words. One Maps Meaning.
A walk through the two foundational mechanisms behind every modern NLP system — generative language models and similarity-based embeddings — using five hands-on exercises with Hugging Face and Gensim. Week 6 mini-project of the IITM Pravartak Professional Certificate Programme in Agentic AI.