I Built, My Own Screenshot App for macOS (No More Clunky Screenshots)
How I got fed up with macOS native screenshot chaos, missed Greenshot from my Windows days, and built a lightweight menu bar screenshot app using Swift and Claude.
On this page
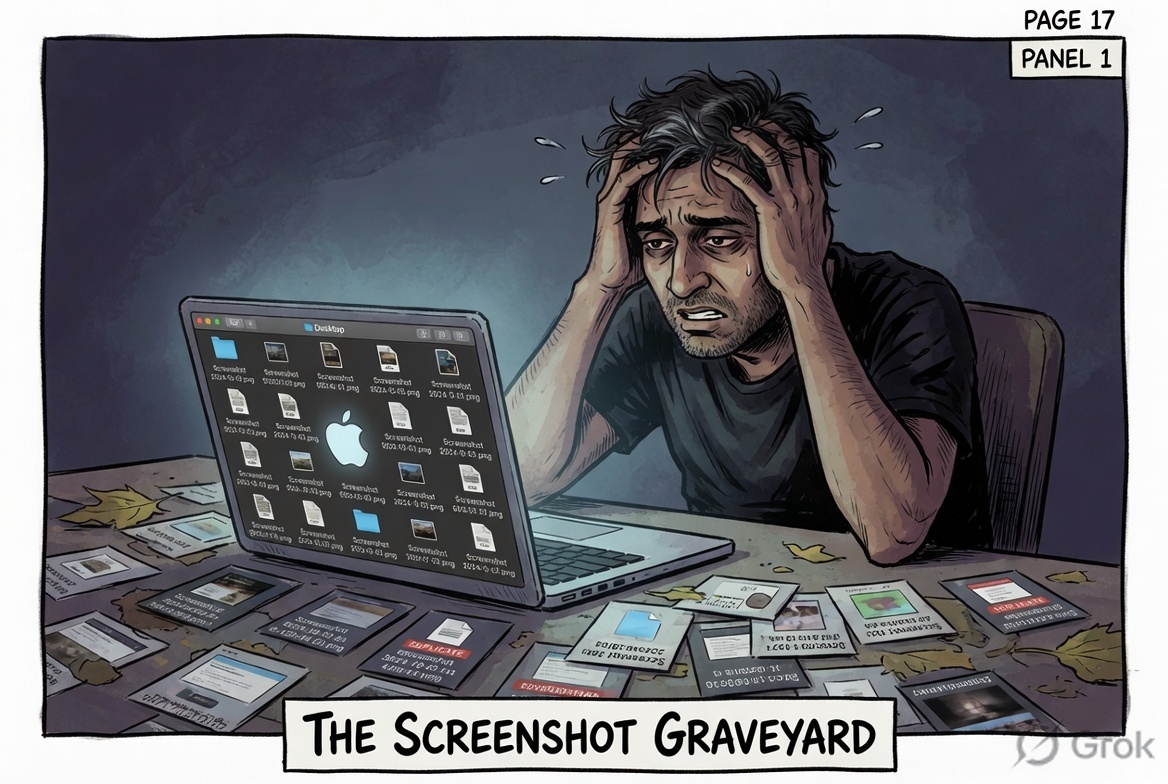
It was a Tuesday evening. I had just taken my fourteenth screenshot of the day — a mix of Cmd+Shift+4, accidental desktop saves, files named Screenshot 2026-05-06 at 11.43.22 PM.png scattered across my Downloads folder like confetti after a party nobody enjoyed.
I opened Finder. Forty-seven PNGs. Forty-seven. Some blurry. Some with my other windows bleeding in at the edges. Some cropped wrong because I’d sneezed mid-drag.
There had to be a better way.
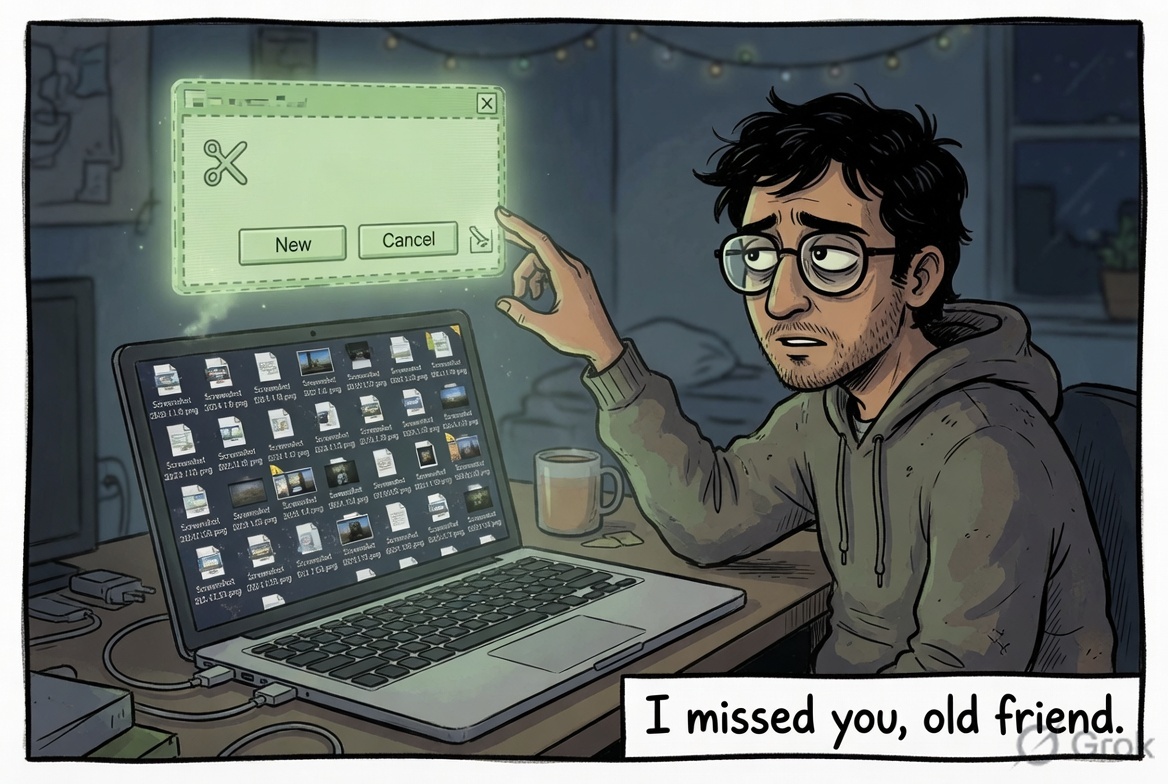
The Ghost of Greenshot Past
Back in my Windows days — and I spent a lot of years in Windows, running datacentres, managing Wintel estates, building VDI platforms — I had Greenshot. If you’ve never used it, Greenshot is a free, lightweight screenshot tool that lives in your system tray. Press PrtSc, draw a box, done. Instant annotation. Instant clipboard. Instant sanity.
When I moved to macOS full-time, I expected something better. Apple builds beautiful hardware. Their software is generally excellent. And their screenshot workflow is… fine. Technically fine. But when you’re taking screenshots all day for documentation, Slack messages, architecture diagrams, and blog posts — “fine” isn’t good enough.
The native flow is: Cmd+Shift+4, drag imprecisely, file saves somewhere, you hunt for it, you paste it, you realise the crop was off, you do it again.
I Googled “Greenshot for Mac” approximately eleven times over the past year. The answers: CleanShot X (paid, subscription), Shottr (good but someone else’s decisions), or just “get used to it.”
I couldn’t get used to it. So I did what any reasonable enterprise architect does at 10pm on a Tuesday.
I decided to build it myself.
Fine. I’ll Build It.
The plan was simple: a lightweight macOS menu bar app. Lives in the status bar. One click or a hotkey and you’ve got a clean area capture, a window capture, or a full-screen grab. Auto-saves with a sensible filename. Copies to clipboard. Makes a satisfying shutter sound. Stays out of your way.
The twist: I’d build it the same way I built this blog — with Claude as my pair programmer and VS Code as the editor. I’m an architect and technologist, not a Swift developer. But that was the whole point.
I opened a new conversation, described what I wanted in plain English, and we got to work.
What AJShot Is
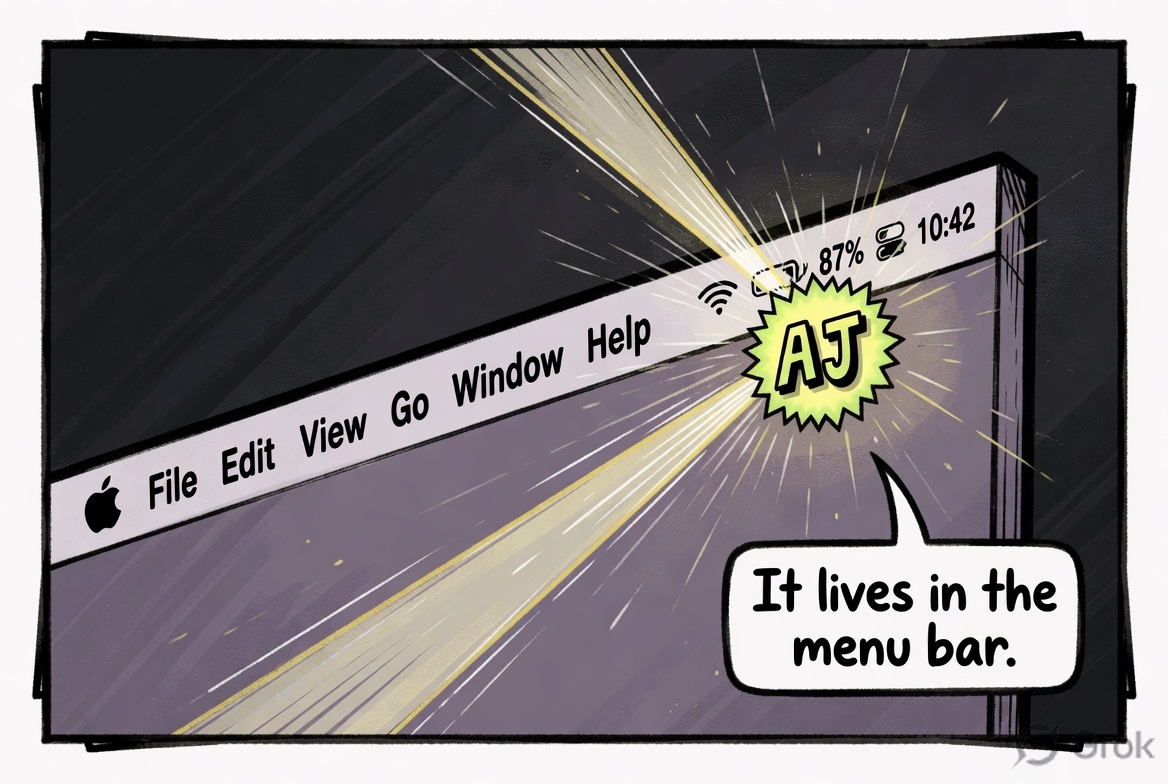
AJShot is a native macOS menu bar app — background-only, no Dock icon, no bloat. It sits quietly in your menu bar with a small AJ badge. Left-click opens your last screenshot. Right-click opens the action menu.
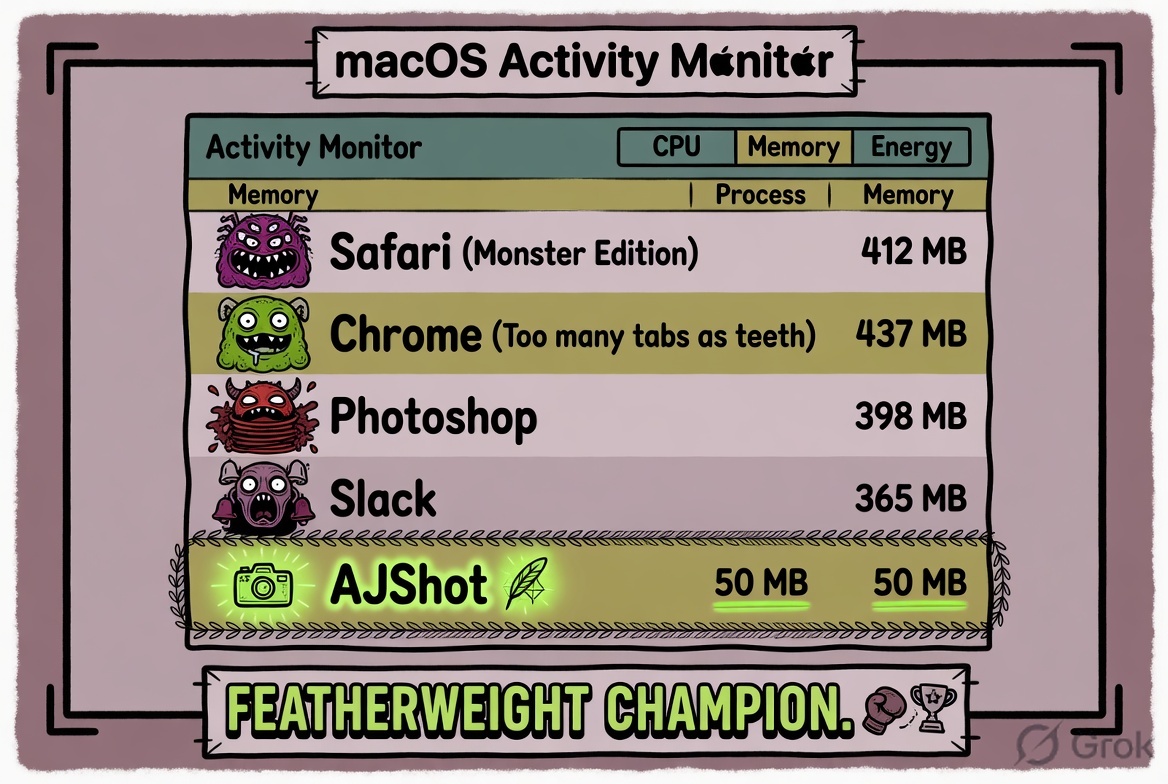
Memory footprint: around 50 MB at idle. Compare that to some Electron-based tools that idle at 300 MB just saying hello.
The right-click menu looks like this:
📷 Capture Area          ⌘⇧3
🖥  Capture Window        ⌘⇧4
🖥  Capture Fullscreen    ⌘⇧5
─────────────────────────────
📂 Open Last Screenshot
📁 Open Screenshots Folder
─────────────────────────────
⚙️  Preferences
ℹ️  About
✕  Quit
The keyboard shortcuts are global — they work even when AJShot is in the background. You’re deep in a Zoom call, you need a quick capture, you hit Cmd+Shift+3, draw the box, done. The screenshot is already in your designated folder and on your clipboard before you’ve even let go of the mouse.
Core Features
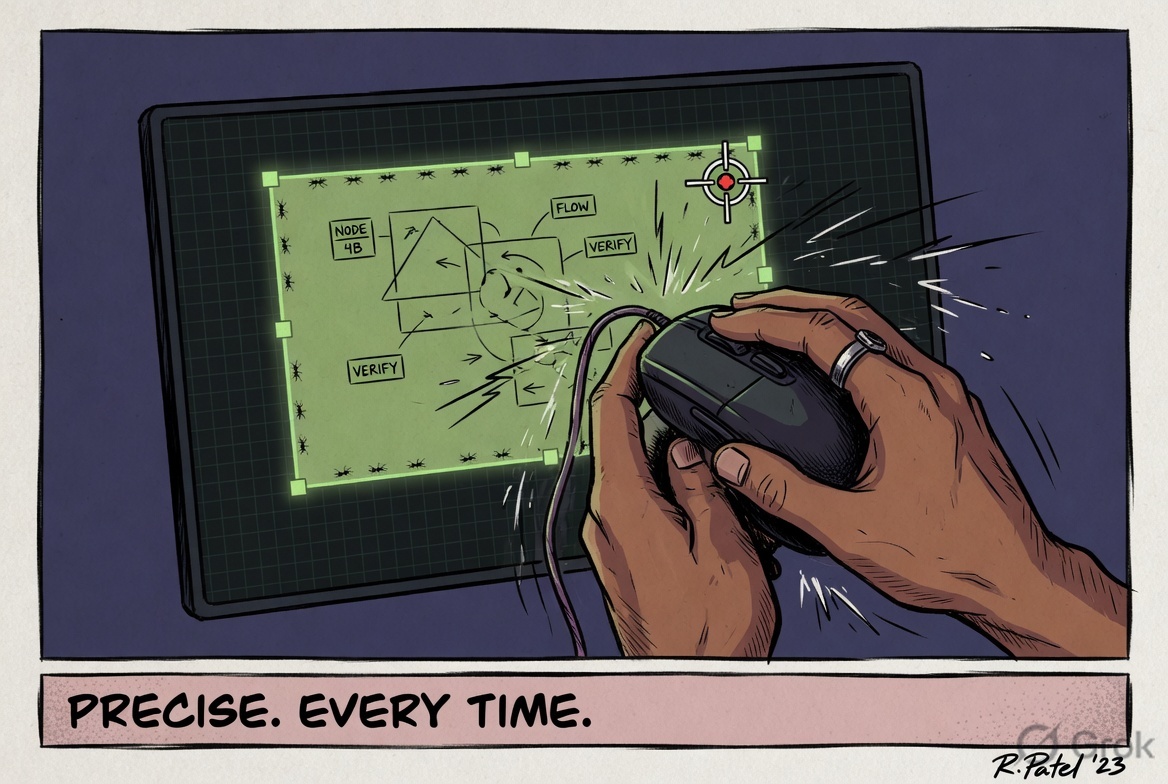
Capture Modes
Area Capture (⌘⇧3) — the workhorse. Full-screen overlay appears, cursor becomes a crosshair, you draw a box. Precise. Consistent. No more dragging the wrong direction and getting a sliver of your taskbar.
Window Capture (⌘⇧4) — click a window, capture just that window. No background bleed, no accidental desktop icons photobombing your documentation.
Fullscreen Capture (⌘⇧5) — captures everything. Supports multi-display setups with a “capture all” or “ask each time” behaviour you configure once.
Preferences That Actually Make Sense
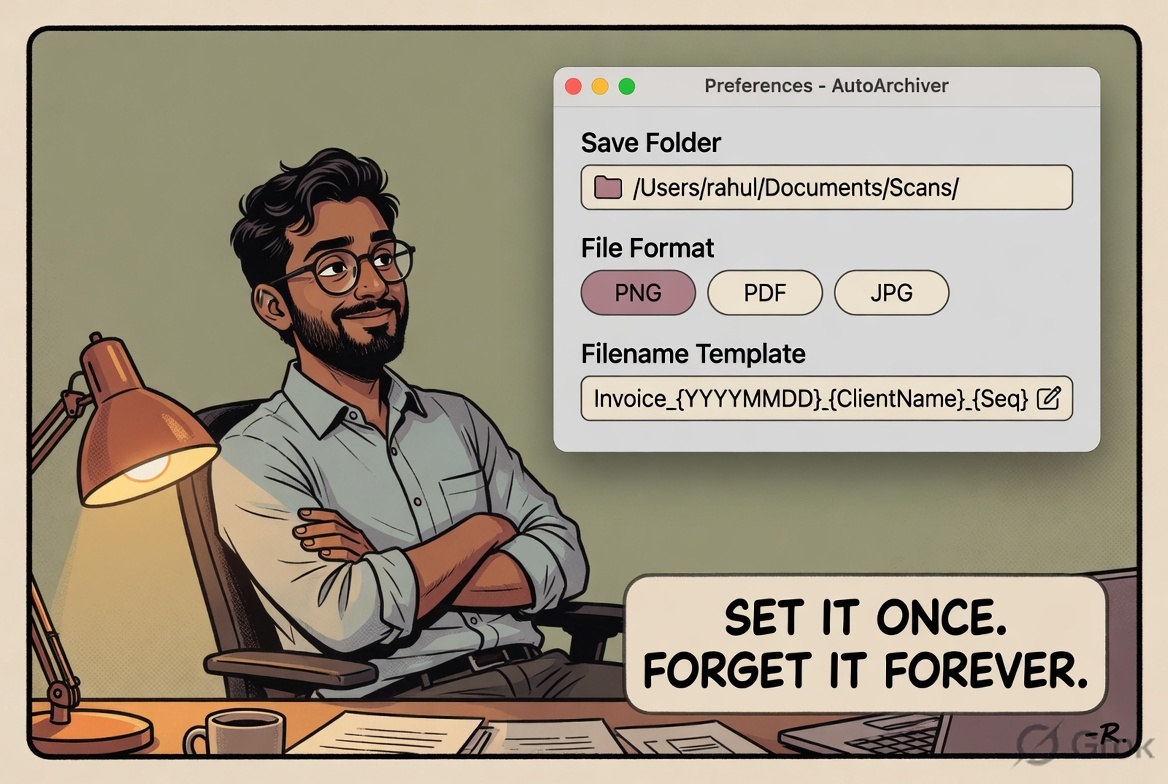
Open Preferences and you get a clean panel with the options you’d actually want to configure:
| Setting | Default | What it does |
|---|---|---|
| Launch at login | On | AJShot is always ready, even after restart |
| Play capture sound | On | Satisfying shutter click confirms the capture |
| Show thumbnail preview | On | Floating preview appears — click to open in editor |
| Auto-copy to clipboard | On | Screenshot lands in your clipboard automatically |
| Save folder | ~/Pictures/AJShot | Your own designated screenshot home |
| File format | PNG | Or JPG with a quality slider |
| Filename template | AJShot_{date}_{time} | Consistent, sortable, sane filenames |
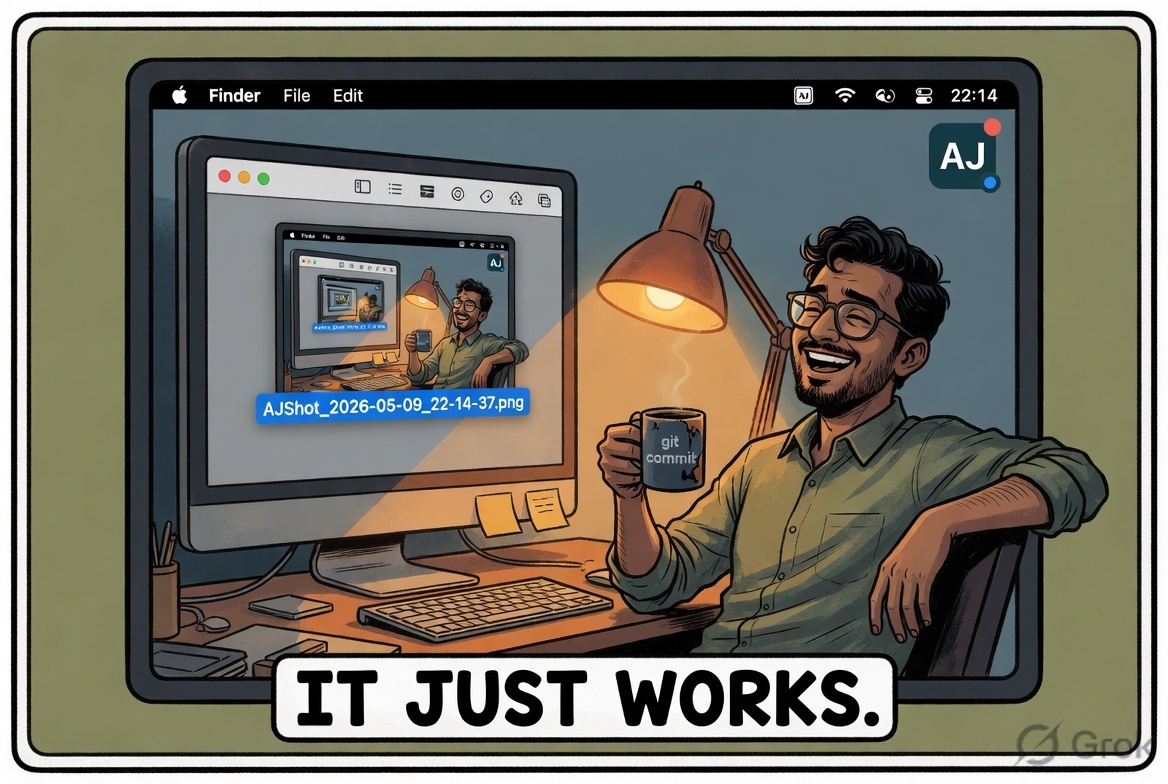
The filename templating engine handles the sanitisation itself — no illegal characters, no trailing dots, no 240-character filenames. Files come out like AJShot_2026-05-09_22-14-37.png. You can find them instantly. You can sort them. Your Downloads folder stays clean.
Post-Capture Flow
After every capture, AJShot runs through a quick sequence:
- Auto-saves to your configured folder with the filename template applied
- Copies to clipboard (if enabled) — so you can paste immediately
- Plays the shutter sound — audio confirmation that the capture happened
- Shows a floating thumbnail in the corner — click it to open in the editor
You can also configure the post-capture action to always ask, always edit, always save, or always copy. Once you’ve decided how you work, it remembers.
The Real Problem It Solves
Here’s the honest comparison:
| Native macOS | AJShot | |
|---|---|---|
| Start capture | Cmd+Shift+4, wait for toolbar | Cmd+Shift+3, instant overlay |
| File location | Desktop or last used folder | Always ~/Pictures/AJShot |
| Filename | Screenshot 2026-05-09 at 10.14.22 PM.png | AJShot_2026-05-09_22-14-22.png |
| Clipboard copy | Manual extra step | Automatic |
| Editor | Preview.app detour | Built-in (annotation tools in progress) |
| Memory use | System process | ~50 MB dedicated |
| Works in background | Partial | Full global hotkeys |
| Shutter sound | Yes | Yes (configurable) |
The editor is where things get even more interesting. The annotation scaffolding is already built — the tools are there in the codebase: arrows, blur, text, highlights, shapes, step-number callouts. They’re not wired to the UI yet, but they’re coming. That’s the next milestone.
Tech Stack — What’s Actually Under the Hood
This is a native macOS app built entirely in Swift 5.9+, targeting macOS 12 (Monterey) and later. The UI is a hybrid of SwiftUI and AppKit — SwiftUI for the Preferences panel and modern views, AppKit where you need fine-grained control over system behaviour (status bar items, window management, capture overlays).
Dependencies (both by Sindre Sorhus, the prolific open-source developer behind half the macOS indie tool ecosystem):
KeyboardShortcuts— global hotkey registration that plays nicely with macOS securityDefaults— a type-safe, SwiftUI-friendly wrapper aroundUserDefaults
Capture pipeline: uses CGPreflightScreenCaptureAccess and CGRequestScreenCaptureAccess from CoreGraphics for the permission preflight, then ScreenCaptureKit for the actual pixel capture. The permission flow has a proper retry loop — if you’ve granted permission but haven’t restarted the app, it tells you exactly that and offers a one-click restart.
Build and distribution: Swift Package Manager for dependencies, Xcode 15 for the build, and a build-dmg.sh script that produces a signed AJShot-1.0.0.dmg for distribution. The DMG is already built. You can drag it to Applications and run it today.
Security considerations (because I work in security and these things matter):
- Screenshot folder is set to
0700permissions — only you can read it - Individual screenshot files are
0600— same - Filename template engine strips illegal characters and control characters at the source
- Code signing and notarization stubs are already in the README for when distribution goes wide
The architecture is clean: App → AppDelegate → StatusBarController → CaptureManager → ScreenshotStorage. Each module does one thing. The FilenameTemplateEngine is a pure static function. The ThumbnailPresenter is decoupled from capture. Claude helped me keep it disciplined.
The Honest Struggles
No developer story is complete without the bit where things go sideways.
Screen Recording permissions nearly broke me on the first build. macOS 12+ requires explicit Screen Recording permission in System Settings, and you can’t force-trigger the dialog more than once per session. I had to build the multi-stage fallback: first launch triggers Apple’s native dialog, subsequent denials open System Settings directly, and if you’ve granted permission but not restarted, it detects that state and offers a restart button. It took longer to get that right than the actual capture code.
Swift Package Manager vs Xcode had a brief disagreement about the resource bundle for shutter.aiff. The sound file lives in AJShot/Sounds/ and has to be declared as a .process("Sounds") resource in Package.swift. Simple when you know it. Less simple at 11pm when it just silently fails to play.
The LaunchAtLogin manager required writing a LaunchAgent plist to ~/Library/LaunchAgents/. Straightforward on paper. In practice, macOS is protective of that folder in ways that aren’t well-documented, and the error messages when something goes wrong are the kind that send you to Stack Overflow threads from 2019.
That’s the thing about building a native macOS app — the platform is powerful and the APIs are solid, but the surface area of “things that can quietly not work” is larger than you’d expect. Claude helped me navigate most of it. The frustration was real and so was the progress.
What’s Next
The annotation editor is the next major milestone — the scaffolding is already there. Arrow tool, blur tool, text tool, highlight, shapes, step-number callouts. When that’s wired up, AJShot becomes a complete Greenshot replacement for macOS: capture, annotate, save, share.
After that: GitHub release with a public DMG, code signing, notarization, and probably a product page here on CuriousBit.
If you’re a macOS user who’s been putting up with the native screenshot workflow out of habit — you don’t have to. And if you’re a developer (or aspiring one) who thinks you can’t build a native app without being a full-time Swift engineer — you can. You really can.
Try It / Share What You Use
The GitHub repo is coming soon — I’ll post the link here when it’s public. In the meantime, if you’re curious about the architecture, the Swift source, or want to follow along as the editor gets built, keep an eye on this blog.
And I’m genuinely curious: what screenshot tool do you use on macOS? Are you a CleanShot loyalist? A Shottr person? Still using the native tools and somehow thriving? Drop a note — I’d love to know.
Because the best tools are the ones built out of genuine frustration with the alternative. And I was very genuinely frustrated.
About the Author
Ajay Walia
AI {IT Architect} focusing on local-first multi-agent AI engineering, zero-data-egress systems. Ideator, Creator and Executor on Curious Bit.
Keep Reading
I Built This Blog Without Writing a Single Line of Code (Almost)
A comic-style walkthrough of how I built curiousbit.netlify.app using Claude, Codex, Hugo, Tailwind, and Netlify — zero frontend experience required.

Building with LLMs in 2026: The Framework Atlas
Choosing an LLM in 2026 is the least important decision in your stack. Here is the framework landscape every architect needs to navigate.

Camera Roll to Caption — Python Pipeline, Vision Model for Photo Tags
A small structured review seam beats blind automation. The case study: a two-stage Python tagger that turned 35 garden HEICs into captioned posts, with 97% acceptable output after thirty seconds of human review.